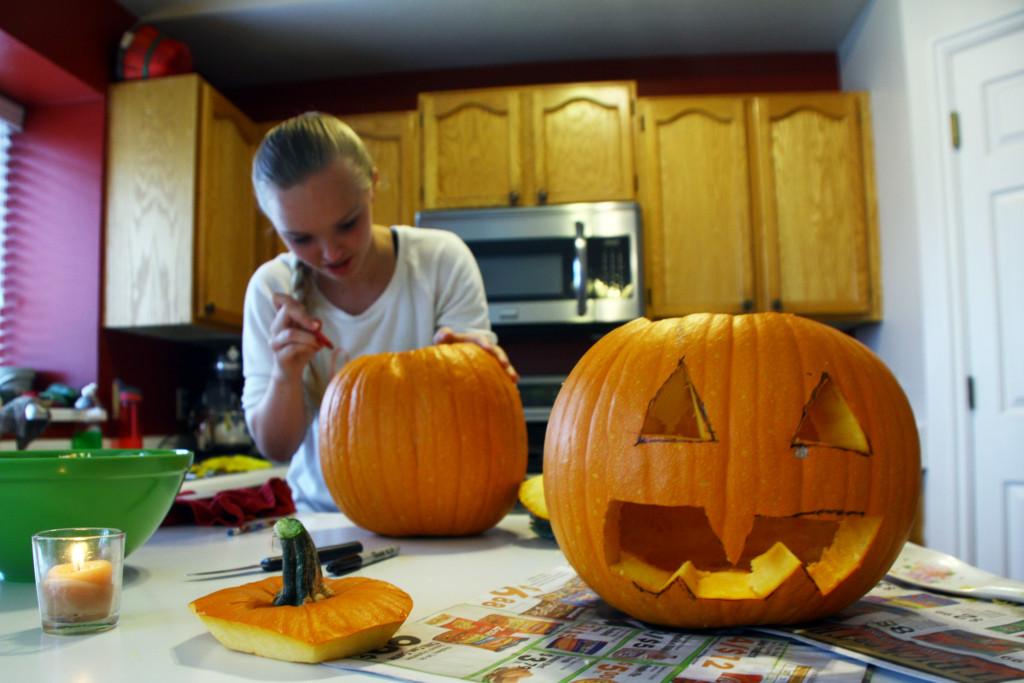
For those of you who find yourselves away from home for Halloween, maybe for the first time, you may have realized that it is now your job to carve pumpkins without any outside help. Luckily for you, this is a guide especially for pumpkin-carving newbies. Follow these instructions, and by the time you’re through, you should have a pumpkin respectable enough to display to other people.
Materials:
Pumpkin
Sharp, small(ish) knives
Medium- to large-sized spoon
Candle
Match/lighter
Ratty towel
Newspaper
Trash can (for seeds and guts)
First, give your pumpkin a relaxing bath. The poor thing’s about to be cut open and disemboweled; the least you can do is make the process pleasant. Once it’s as clean as it’s going to get, use one of your more ratty towels to dry it off as much as you can. The drier the better; slippery surfaces and knives don’t mix well.
Now for the part that requires sharp objects. Cut around the pumpkin’s stem for access to the goo inside. Make sure you cut at an angle or else the stem won’t ever fit on top again and will instead fall to the bottom, which is not at all ideal.

Use a sharp knife and cut off the lines of seeds and pumpkin innards attached to the stem piece before using a spoon, preferably a big one, to loosen every string keeping the seeds stuck to the pumpkin’s skeleton.
Now it’s time to decide what your creation will look like. A pencil is the best instrument to use on the pumpkin when you start planning for the carving part since it can be hidden much easier than permanent marker if you change your mind or make a mistake. You can also print off a design from online, place the paper against your pumpkin, and poke holes in the pumpkin at regular intervals following the paper’s design. Try to avoid small details, especially if a) this is your first attempt at carving a pumpkin or b) your knife isn’t super small. My favorite go-to design involves two normal triangles for eyes, an upside-down triangle for a nose, and a smile dotted with triangles for a mouth. The nose is less important for this design, so feel free to leave it off.
Keeping first-aid supplies nearby, you can begin to carve. Move your knife in a saw-like up-and-down motion, carefully following the pencil lines on your original design or the pattern of holes signifying the design you printed off.
Finally — success! If you’re happy with the result, you can move on to lighting. Strike a match or pull out your lighter, making sure to keep it away from any flammable material, and light a candle (maybe try a pumpkin spice scent to really confuse people). Place the candle carefully on the floor of your pumpkin, replace the stem lid and feel free to show off your pumpkin in as public a place as you like.
Make sure to take some wicked photos so you can report your success to social media, and don’t forget to tag those who thought you couldn’t do it. You may not have all your midterms finished, but gosh darn it, you can carve pumpkins!

