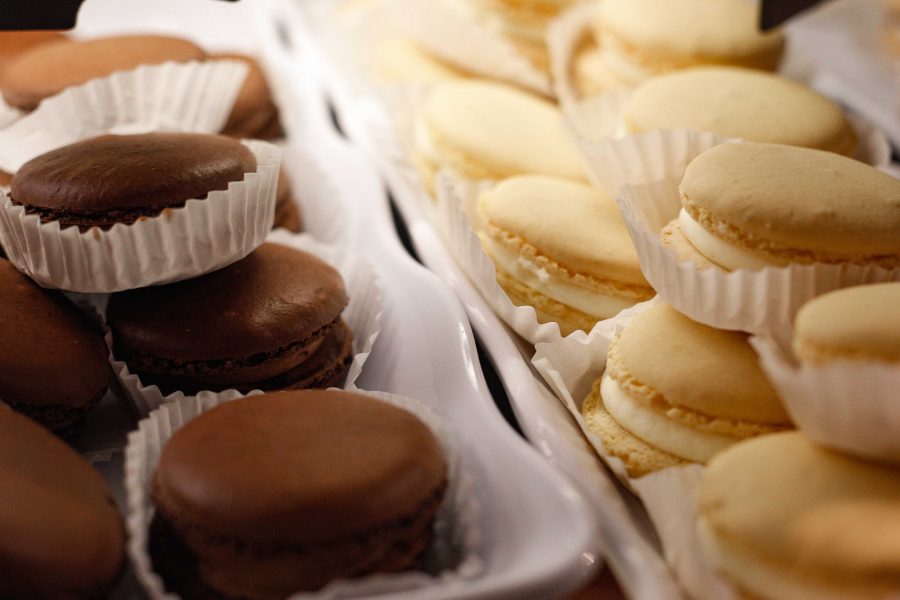
Macarons get a lot of bad press, but they are actually much more baker-friendly than anticipated.
I’m not going to lie to you. Macarons take two hours and a lot of focus. This is not boxed brownie batter you can throw together and pop in the oven. They do taste way better though. At the end you even get a satisfyingly pretty and delicious reward for your efforts.
There are two parts to a macaron: the shell and the filling. You’ll make the shells first. My recipe makes about 40 shells which yield 20 macarons.
Madge’s Macarons:
Ingredients
2 large room-temperature egg whites
¾ cup almond flour
1 cup powdered sugar
¼ cup normal sugar
½ teaspoon vanilla extract or flavored extract of your choice
Tools
2 Ziploc bags
Scissors
Two large mixing bowls
Whisk
Electric mixer (you don’t have to have this but be prepared for an arm workout if you skip it)
Parchment paper (you can’t use wax paper or aluminum foil or the shells will stick and break)
Cookie sheet
Spatula or spoon
Baking
First combine the flour and powdered sugar in a bowl. In a separate bowl you need to beat the eggs until they form soft peaks. Make sure this bowl and your mixer are completely clean and dry because anything other than normal sugar can ruin your eggs. Beat this mixture for 2 to 3 minutes. Time it out, it’s longer than you think. Now add the normal sugar and beat for another 2 minutes until it forms stiff peaks. Then add vanilla and beat for 30 seconds.
Next fold in the dry ingredients. Do not stir them. When you are folding, you flip the batter on top of itself and press it gently together. Add the dry ingredients slowly. Fold the mixture until there are no visible dry ingredients. If your batter gets runny you have folded too much.
Next is the fun part. Spoon the mixture into one of the Ziplocs. Lay parchment paper on a cookie sheet. Seal your ziploc and cut one of the corners off the bottom of the bag. Now you can “pipe” the mixture onto the parchment paper in half-dollar-sized circles. Once you have used all your batter, let it sit on the counter for 30 minutes. This forms the skin that gives macarons their crunch.
Preheat the oven to 325 degrees. Now pick up your pan and firmly slap it on the counter 3 or 4 times to tap out any air bubbles.
Once the oven is ready, pop in the macarons for 10 minutes and then cool them on top of the oven for five minutes and then on the counter for another 10. Don’t skip the two-step cooling – it’s what makes them gooey.
Now, we make filling.
Basic Buttercream Frosting:
Ingredients
¼ cup unsalted butter
¾ cup and 2 tablespoons powdered sugar
½ teaspoon vanilla extract or flavored extract of your choice
1 teaspoon milk (optional)
Making
Soften the butter either by leaving it out while you make the shells or by heating it for 15 seconds twice in the microwave. Next, add in the sugar and extract and mix for a couple minutes to incorporate everything. I prefer to use a whisk so I don’t get sugar splatter. If you want a thinner buttercream, add the milk to this mixture.
Now spoon the frosting into your other Ziploc, seal it, cut the corner and pipe it onto half of your shells. Gently place the other half of the shells on top and you are done.
I frequently do homework while my macarons are cooking or setting. You have to be willing to put in the time, but the rewards are great and they make a fantastic study break excuse. Plus, they are a unique and thoughtful gift. My family prefers them fresh but they taste good for a few days as well. You can also substitute vegan butter and egg whites for a dairy-free or vegan treat.


